I felt so lucky, I signed up for the Silk Dye workshop through my workplace and I was one of the few people to get into the first class! (I did feel bad though, a few friends were trying to get in and wait listed, sorry guys!)
Linda (our instructor) was very informative of the process. Giving us a large scroll of paper during our first class and sending us home to sketch out our ideas. I was inspired for my first piece by the history of silk dyeing and the Japanese culture. I took reference of the Koi fish and tradition Japanese waves, the clouds and my own take on a Japanese tree house.
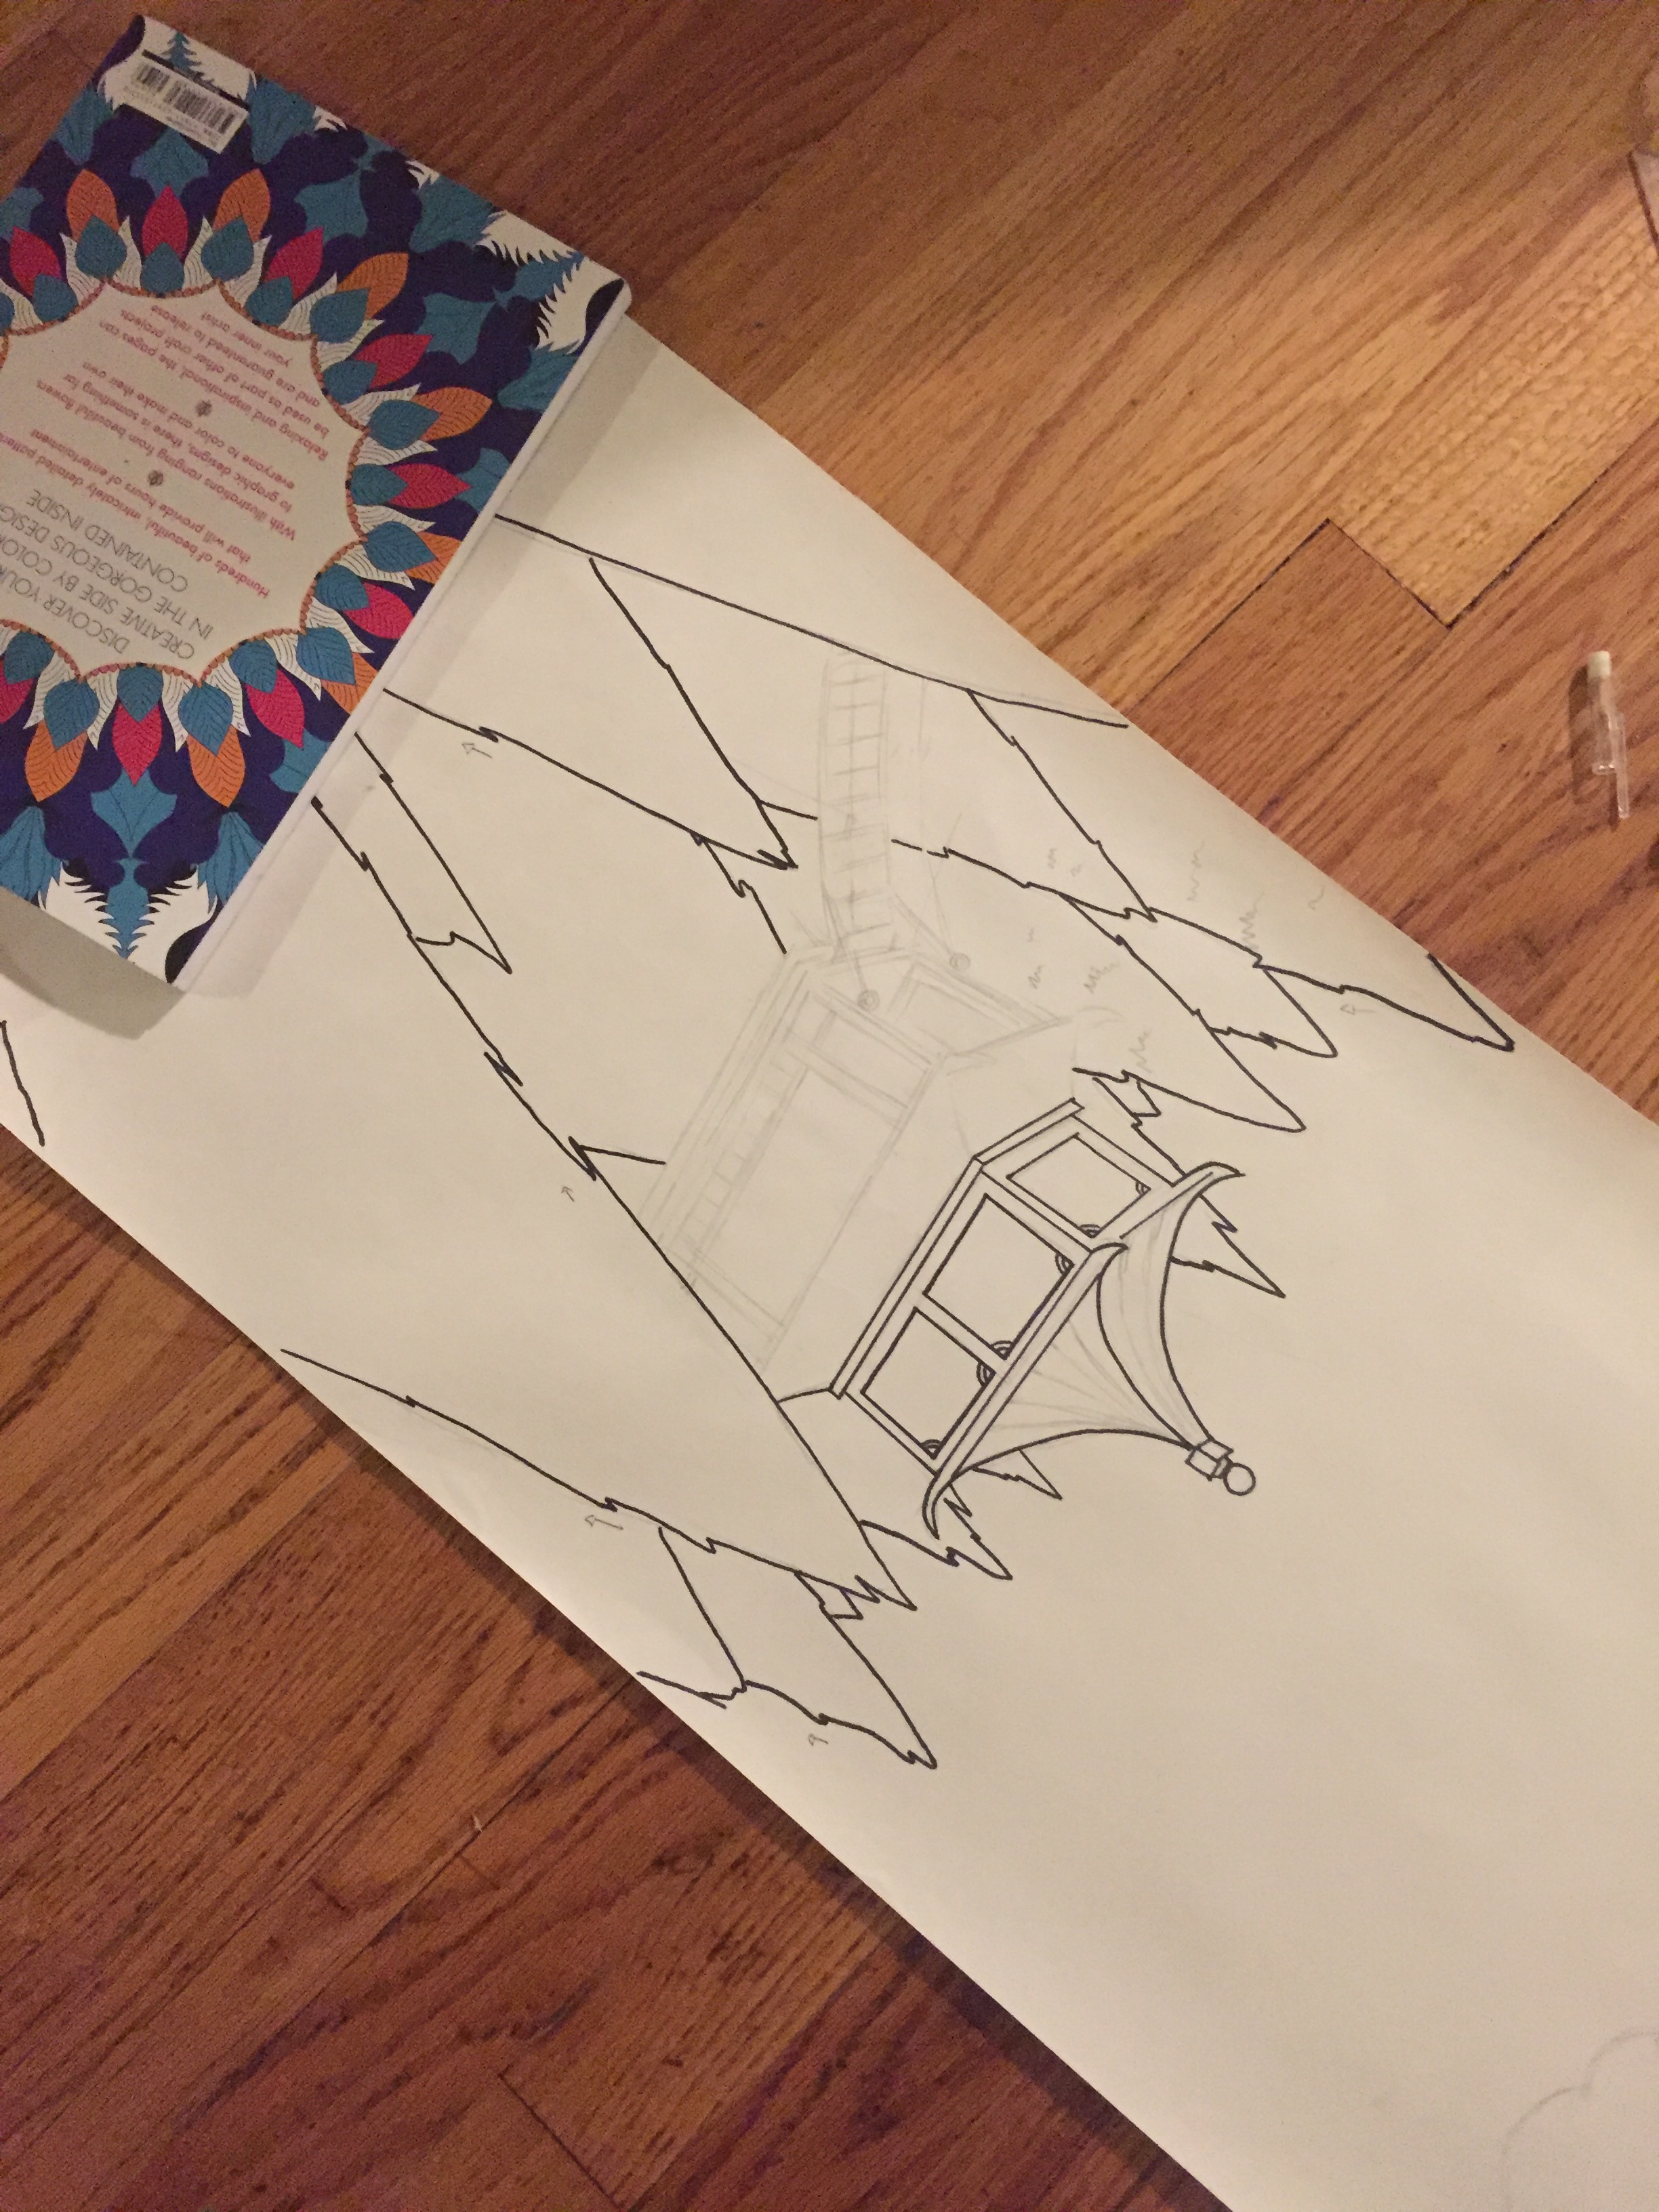
For the first part of the process we sketched our ideas out. I sprawled out on the floor in the living room with my books holding my scroll of paper in place. Getting the lines where I wanted them and the idea on paper. I was so excited with how this project was going already.
Part two was to transfer the sketch onto the silk using a special formula called "Gutta". We strapped our silk into it's frame taught and began lacing thin lines while the silk hovered above our sketches.
Once the Gutta dried, we were able to begin the process of painting. much like water color; we used dyes to fill in the space around the Gutta which acts as a resist to protect the silk from taking in the color. Theres the ability to blend and move the dye through the silk similar to watercolor which is a favorite medium of mine. I found this process to be meditative and enjoyed finding placement for each color.
While the dye was still wet, I chose to add some texture to my silk by adding salt. The salt creates pools where the color dries up. (See image). I did my best to take some process photos but we are not allowed to take photos on campus so all of the images below were taken outside.
First photo is the final piece. I'm very happy with the results! We had a small mishap with the dry cleaner but no harm, no foul! The scarf is still beautiful & I'm a happy gal!